Overview of Formstack
Formstack is an online form building tool. We can create simple, complex or short forms according to your business requirements. Formstack helps you in collecting and storing pivotal information. Formstack allows you to gather information, but it also makes it possible to perform valuable analysis and gain insights regarding the key performance areas.
Formstack comes with more than 40 integrations that automate the process and the scope of the data collected. These integrations may be connected with alternative software package solutions like CRMs, payment process systems, security tools, and subscriber lists. Formstack eliminates the need for a developer to be involved, as it offers many customizable features that can be integrated into the forms through the user-friendly interface. The data gathering process becomes simplified and personalized for all kinds of businesses.
Features of Formstack
- Web-to-Anything (lead, contact, case, account, or custom objects)
- Case Management
- Donations
- Customer Feedback Surveys
- Event Registration
- Address Validation
- Waivers/Disclaimers
- Job Applications
- Ecommerce Order Forms
- Healthcare Forms
- Deal Registration
- Enhance your online forms with advanced features:
- Dynamic Prefill
- Community Cloud Forms
- HIPAA & PIPEDA Compliance
- GDPR Compliance
- Electronic Signatures
- Payment Processing (PayPal, Authorize.Net, Stripe, iATS)
- Salesforce Lookup Fields
- File Attachments
- Confirmation & Notification Emails
- PDF Generator
- Intuitive Style Editor
- Custom CSS
- Multi-page Forms & Surveys
Using Formstack with Salesforce
Fast – Build powerful forms and surveys in minutes to capture leads, contacts, cases, or custom objects. Our simple drag-and-drop interface lets you build a web to anything forms without the knowledge or technical expertise.
Flexible – Email forms or publish your web forms and surveys on any website or content management system. All the forms are mobile-friendly and responsive, allowing you to capture responses or process donations on the go.
Secure – With our native app, your data never leaves Salesforce. You can rest easy knowing your sensitive data is protected. Suitable for Governments, Financial Services, and Healthcare organizations.
Steps to install & Setup
1) Install Formstack app into your Salesforce.
2) Go to Salesforce app exchange marketplace search for Formstack or click this link
https://appexchange.salesforce.com/appxListingDetail?listingId=a0N3000000B5GNkEAN.
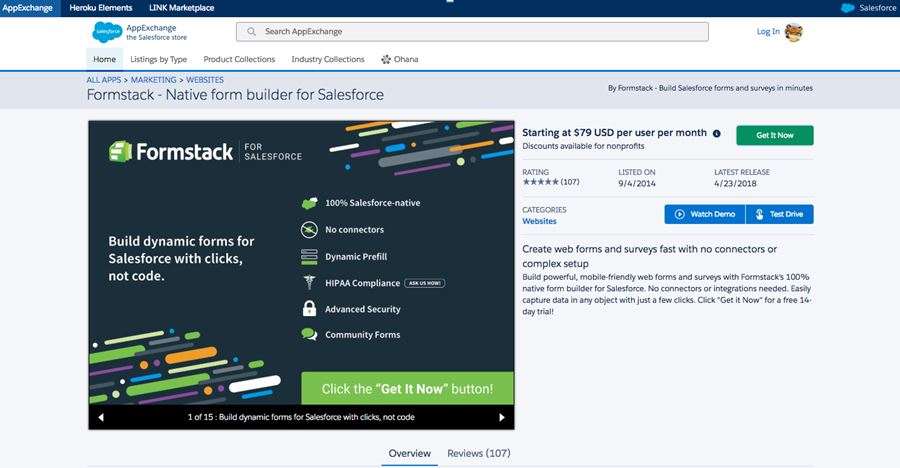
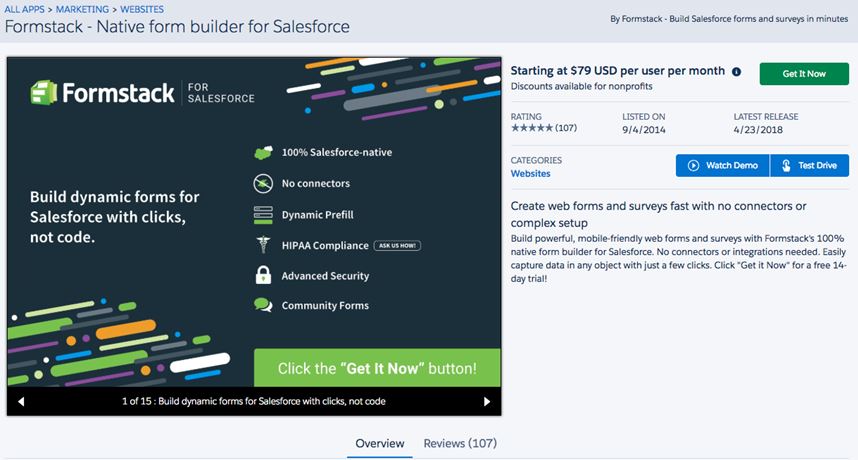
3) Click on the Get It Now button.
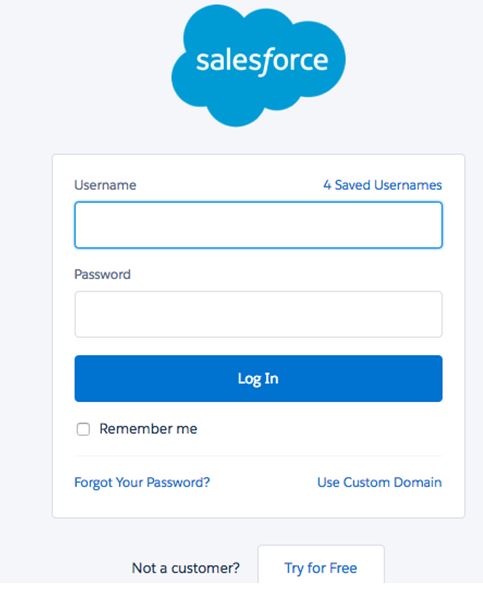
4) If you are not already logged into salesforce, you have to login to the AppExchange. Click the blue Login button.

5) Once you have logged in, you’ll be taken back to the app listing. Again, click on the green Get it Now button to install the app.
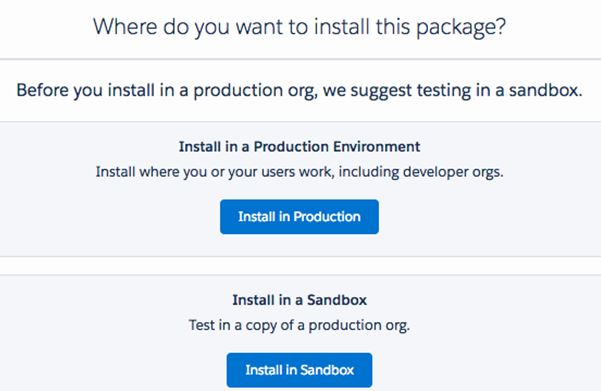
6) Next, you’ll be asked if you want to install the app in Production or Sandbox. Choose the appropriate environment by clicking the blue button.
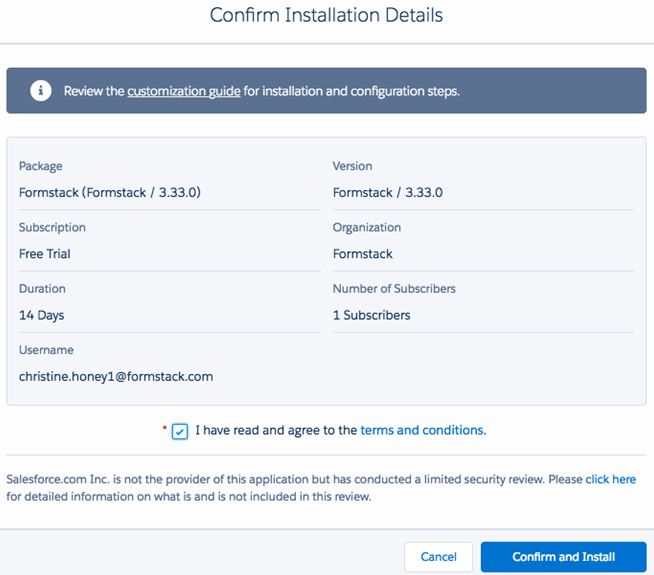
7) Confirming Installation Details With this, you have to confirm that you agree to Terms and Conditions with installing the app. In order to do this, click the checkbox to the left of the text. Click Confirm and Install when you are finished.
8) Depending on what environment you selected, you have to enter the username and password for that particular environment. Click Log In.
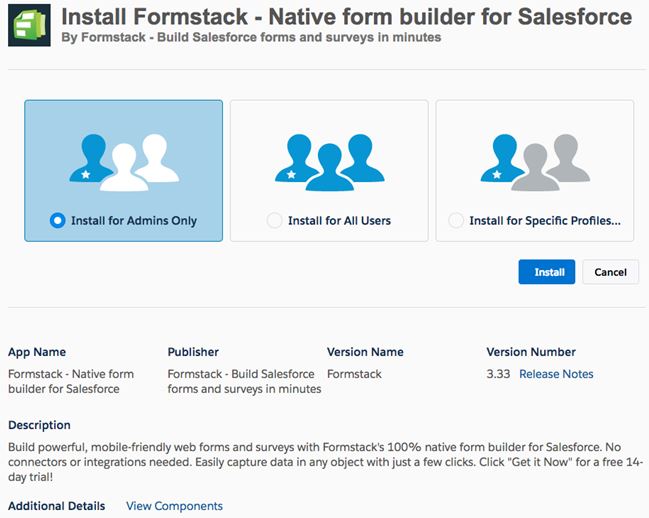
9) Next, you’ll want to choose which profiles you’d like to install the app for. You can choose between
- Admins Only
- All Users
- Install for Specific Profiles
This will be up to you. If you have any questions, ask your Salesforce Administrator or reach out to our Support channel for clarification.
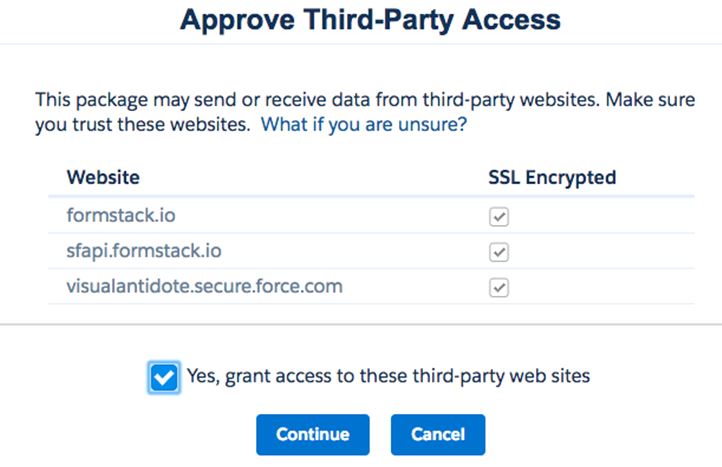
10) Click the checkbox to grant access to third-party web sites and click Continue.
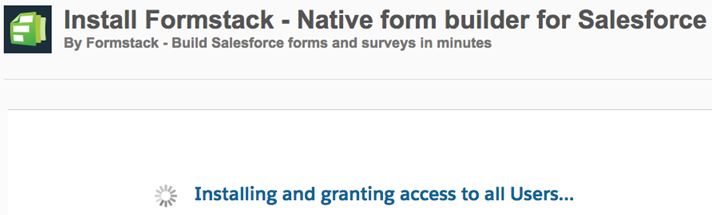
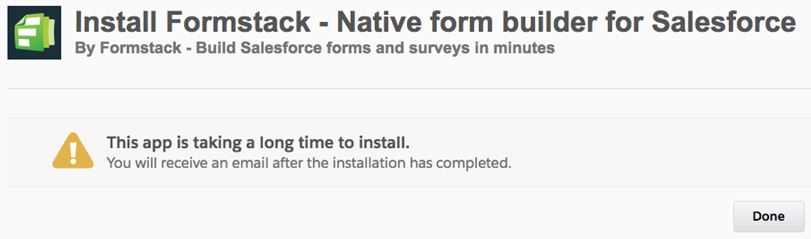
11) Lastly, you’ll just need to wait as the pack installs! If the package says it is taking too long, you’ll receive an email once the installation is finished. Now you can log in to Salesforce and start building forms!
Creating your first Form
Steps to create a new form.
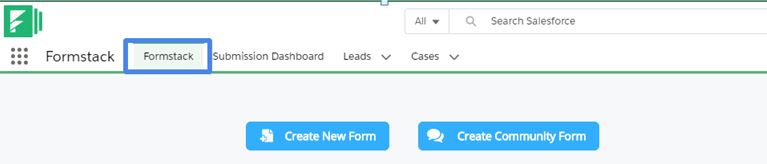
1) Click on the “Formstack†tab, shown in the screenshot.
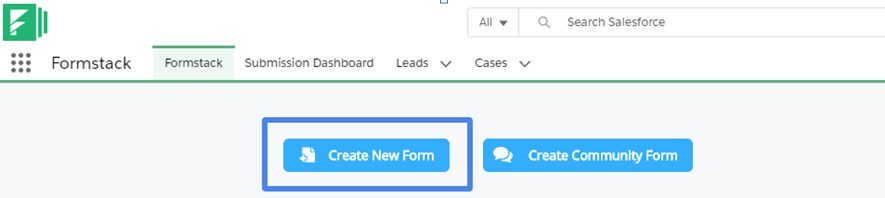
2) Click on the “Create New Form†button, shown in the screenshot.
3) Enter Form name and select the primary object, shown in the screenshot.

4) We can now see the blank template and a few fields already present on the form. This is because these are the required fields for objects. Any field on an object that is required by Salesforce will appear automatically on the form and cannot be deleted.
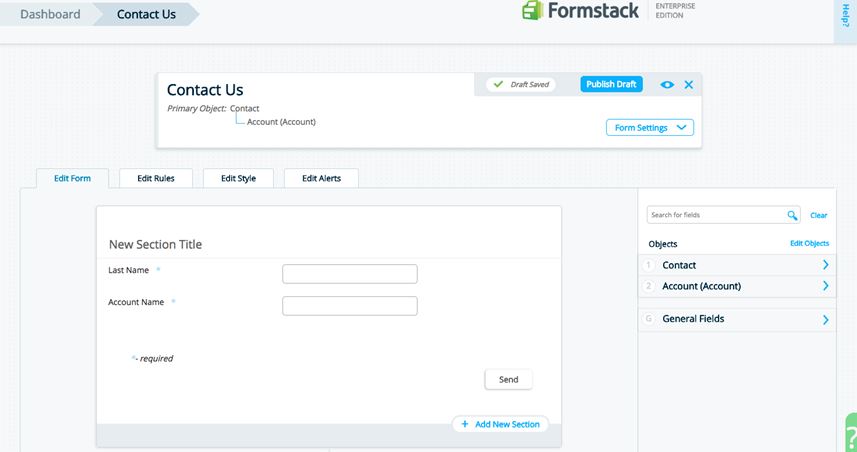
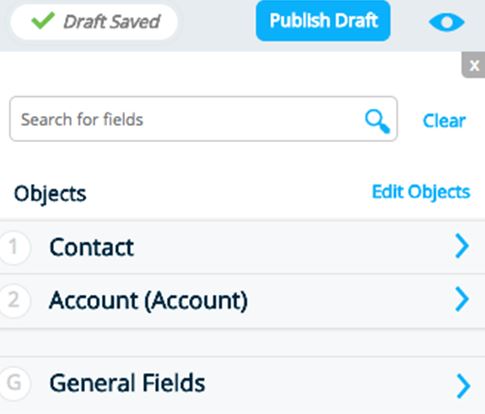
If we look towards the right side of Form Builder, we can see objects Contact and Account. We will select fields to drag onto the form here, by clicking on the blue chevron to the right of each object.
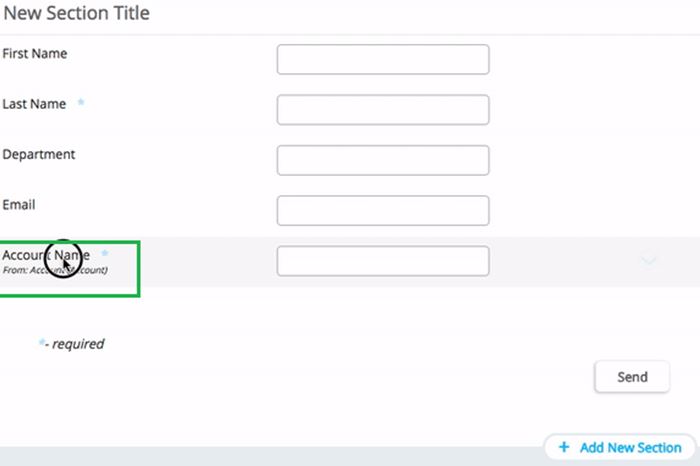
Click on the field and drag it onto your form or double-click on the field. The field will add automatically.
If object has a lot of fields, or you do not know what object has the field you need, you can also search for fields by typing the name of the field in the white box above.
You can also search for field types like checkbox or picklist by typing the type of field you are looking for.
General Fields that are not associated with a Salesforce object. You can drag and drop these fields onto your form like any other.

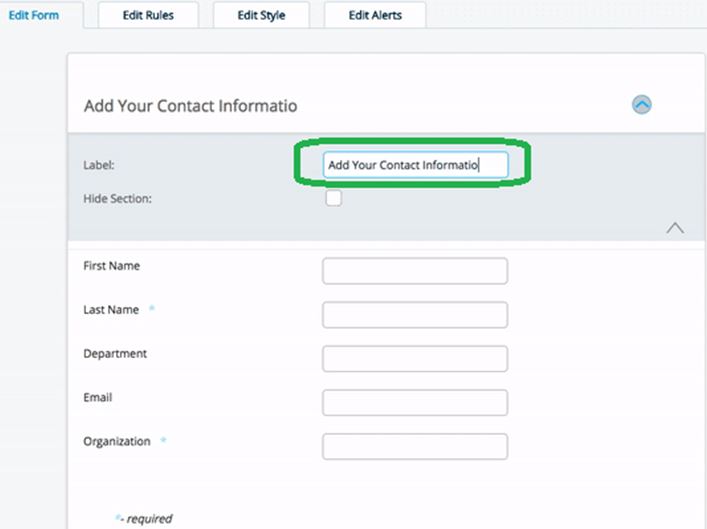
5) We can change the label of a field without changing the field name in Salesforce. to change the label of a field, double-click on the label. A text box will appear and you can type the desired label.
6) We can also change the Section TItle of form by double-clicking on the section.
7) Once you are done, you can now publish your form by click on the button Publish Draft.
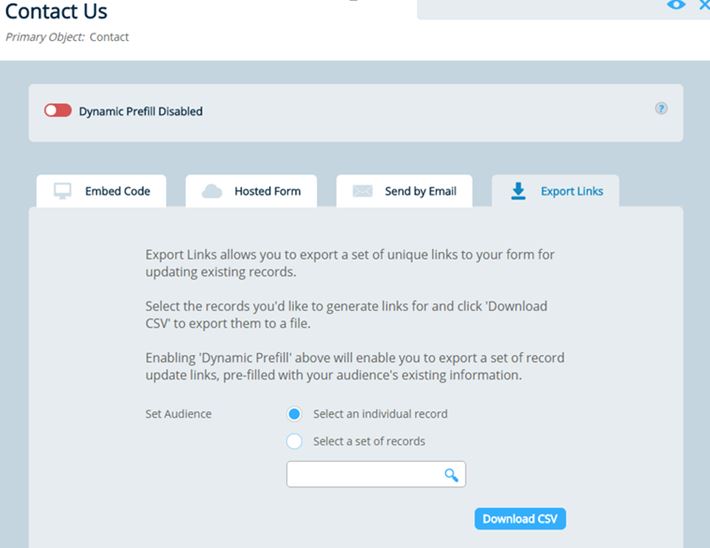
Here the Publish Options page provides you with a set of tabs that offer four distinct ways of distributing your form
1] Embed Code
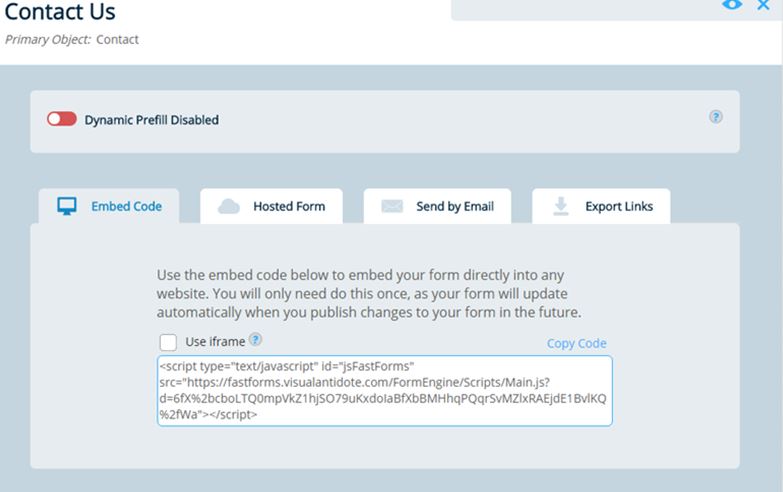
2] Hosted Form
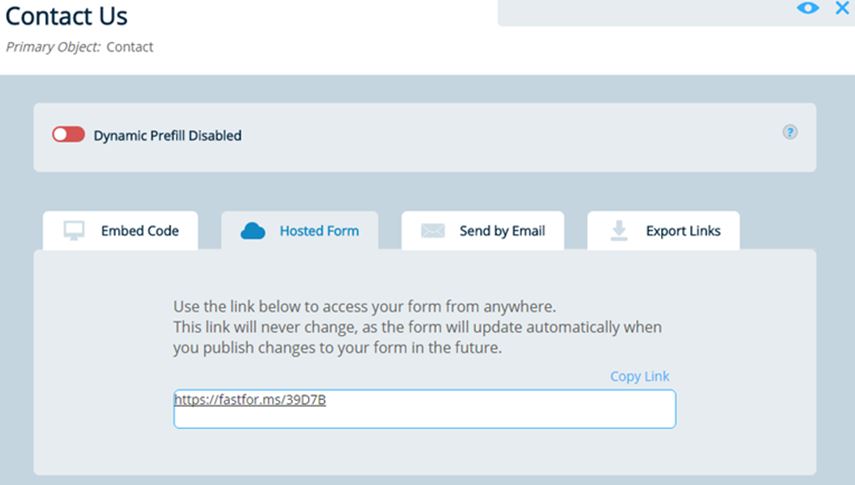
3] Send by Email
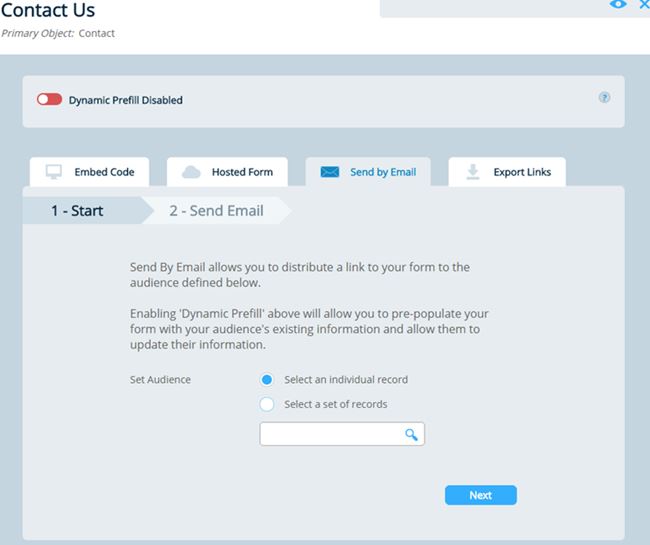
4] Export Links
8) Formstack’s Auto-PreFill feature allows you to have pre-filled links generated for any of your forms and stored in new Salesforce records in a field of your choosing.With Dynamic Prefill enabled for your form in your form’s Publish Options, simply click the ‘Auto-generate prefill links’ toggle to enable Auto-Prefill for your form
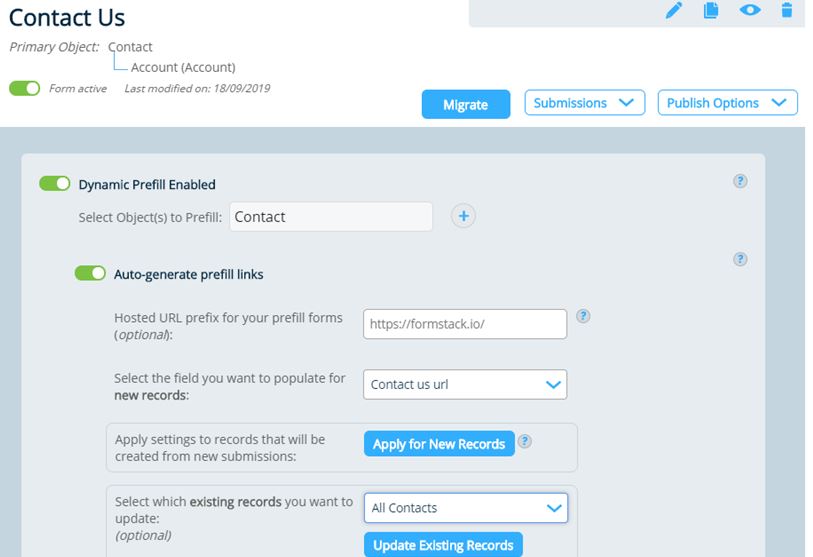
This will allow you to select a URL field in your form primary object where you want your prefilled links to be stored. Selecting a field will automatically deploy a trigger on your primary object that will generate a custom prefilled link for you every time a new record is created for your form primary object.
Use Cases of Formstack with Salesforce CRM
Lead generation – Convert a lot of leads into customers with Formstack’s sensible online forms and powerful conversion rate optimization tools.
Case Creation – Create Cases or Services Requests in Salesforce.com CRM based on Forms in Formstack.
Online surveys – Creating online surveys doesn’t have to be difficult. Let Formstack do the labor for you thus you’ll be able to specialize in obtaining the answers you would like.
Application / Other forms – Use Formstack to create application forms or other forms and get the data in Salesforce custom objects.
Salesforce Documents – We can Generate dynamic documents with Salesforce data, and easily send them to customers and coworkers.
Getting Help
To know more about and getting help on Formstack and Salesforce please contact us.