Here is our tip of the day for Salesforce.com CRM end users – How to add Photograph to your Chatter profile? Once added the photograph on Chatter profile appears on many places on the Salesforce.com CRM. Some of them include:
- On Home page
- On Chatter Profile Page
- On Chatter Posts
- On Records Owner field
- On Reports &Â Dashboards
Before you follow these steps you must have a photograph of yours. You can take a photograph of yours using a standard web cam. One you have the photo on your PC you can follow the following steps to add the photo to Salesforce.com CRM:
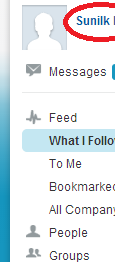
(1) Click on the Chatter Tab

(2) Select you name next to the image icon. This will take you to your profile page.
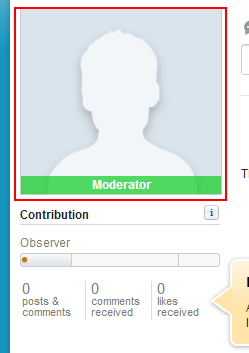
(3) On your profile take the mouse cursor to the image till you get the a link “Change Photo” – click on that link.
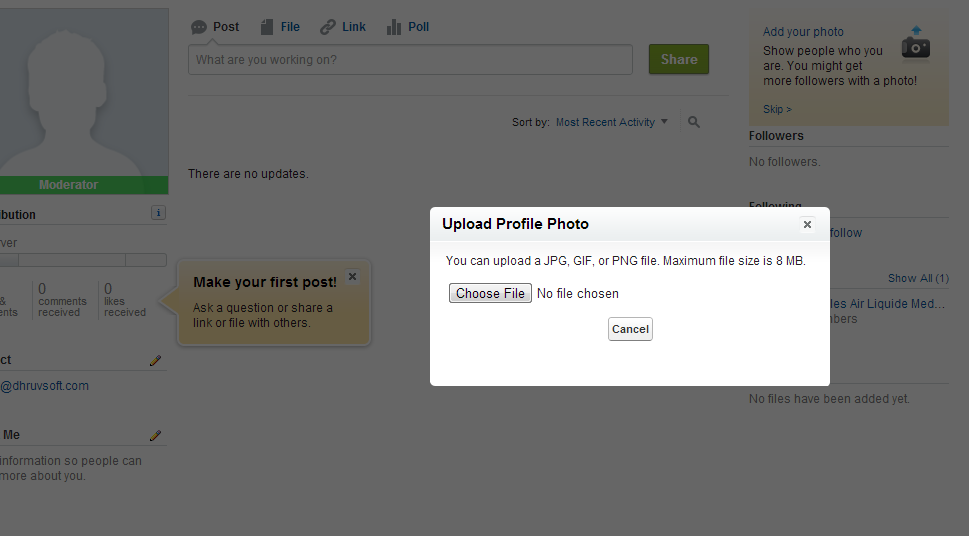
(4) This will open a new window to upload your profile photo. You can upload the photo from your PC which can be in JPG, GIF or PNG format.Remember the file should not be of more that 8MB.
(5) Select the photo – which will then get uploaded. Now you will get an option to select the area of photo that will be displayed on the profile. Use your mouse to adjust the thumbnail image by re-sizing the dotted lines.
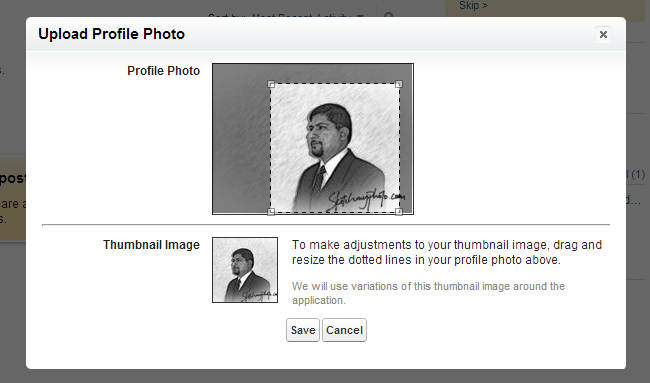
(7) One selected the photograph will appear on your profile of Chatter in Salesforce and on locations specified above.
Share your comments, suggestion related to this tip of the day – or share with us your tips.