FormAssembly Overview
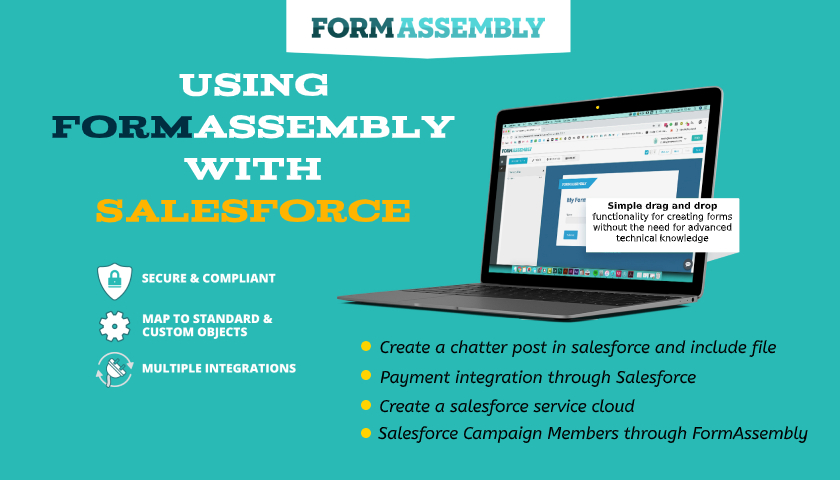
FormAssembly is a web application developed to help businesses, design web forms. FormAssembly is a streamlined process and drives quality form conversions through intuitive form creator, wide-ranging integrations, and enterprise-level secure data collection.
The forms can be build using drag and drop functionality and integrate the form with various services. FormAssembly uses in various use cases for business needs.
Features of FormAssembly
The key features of FormAssembly include:
- Simple drag and drop functionality for creating forms without the need for advanced technical knowledge
- Custom branding themes, visual editing, and Predefined fields
- Integration with salesforce that includes prefilling the form, record creation, and updating the record
- Supports Integration with services like Authorize.net, Stripe, Freshbooks, Google sheets, etc…
- Predefined templates, workflow rules and supports importing dataset to forms
FormAssembly for Salesforce
Integrating Salesforce with FormAssembly is easy with just point and click. To integrate Salesforce with FormAssembly, you must have a FormAssembly Professional, Premier or Enterprise Plan.Â
Here is the list of things we can do with FormAssembly with salesforce
- Create, update the record when the form is submitted
- Prefill a form with existing data in Salesforce
- Create and update Salesforce Marketing Cloud records
- Access FormAssembly forms in salesforce
Setup FormAssembly for Salesforce
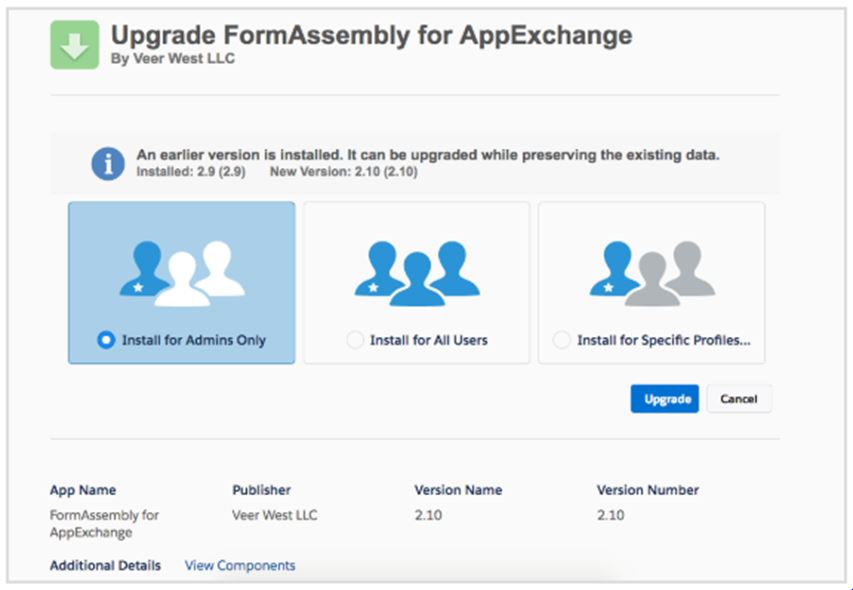
The salesforce connector allows us to create or update any object using the form from FormAssembly. You can use FormAssembly in two ways. FormAssembly for AppExchange is package allows us to use FormAssembly in the salesforce itself and another way is to go through the form assembly site (http://www.formassembly.com) and log in from there with the respective account.
There are two ways to creating forms and connecting with salesforce from FormAssembly.
- Create a form in FormAssembly the setup the connector
- Import a form from salesforce and build in the FormAssembly then setup the connector
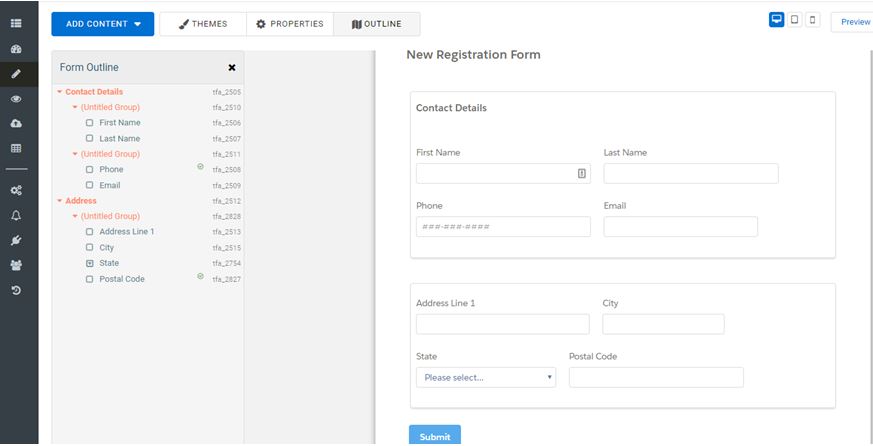
First, we will look into the first step i.e Creating a form in FormAssembly then setup the connector for salesforce. To build the form and integrate to Salesforce, you must have a FormAssembly Professional, Premier or Enterprise Plan.
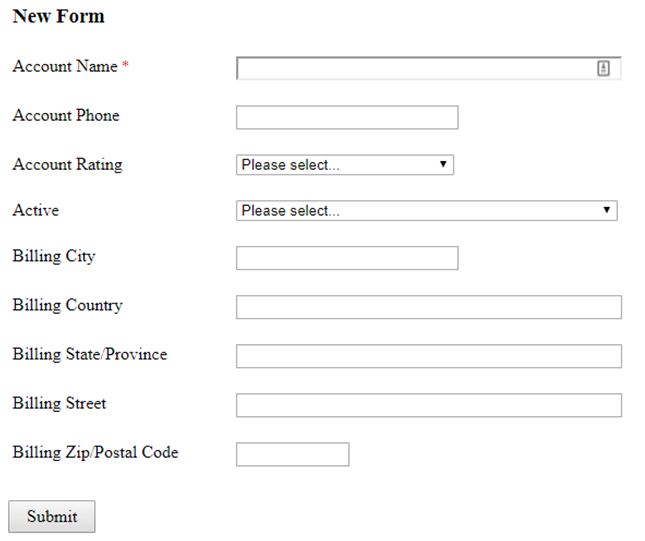
Let’s try to create a Registration form from FormAssembly and connect the form to salesforce to create a Registration record in salesforce. For this login into the FormAssembly account and create a form name call New Registration Form.
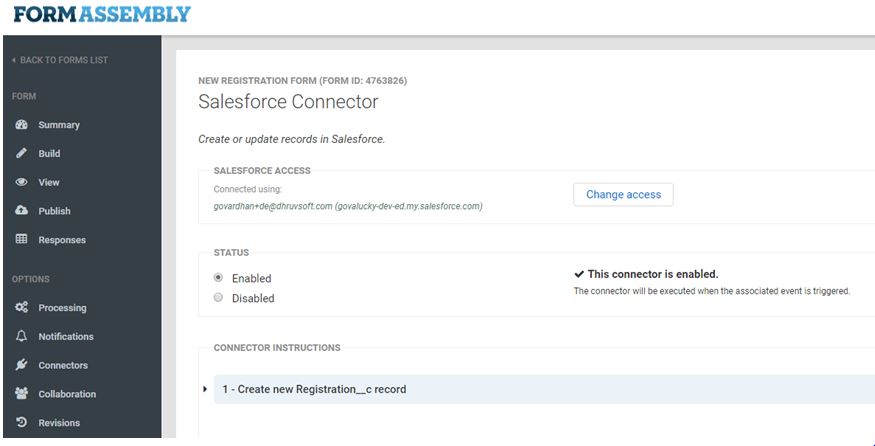
The next step is to connect the form to salesforce, this can be done in the connector section (fig 3). Form Opened, Form Submitted and After Form Submitted is the three different section uses for the various cases.
Form Opened option is helpful when we want to prefill the form with specific record details and show these details in the form. For the New Registration form, we are not prefilling any details so we are not using this option.
When we want to perform any action when the form submitted, then we use this Form Submitted section. For the New Registration form, we want to create a Registration record in the salesforce with the details provided in the form.
After the Form Submitted section is for performing any other actions after the form submitted successfully.
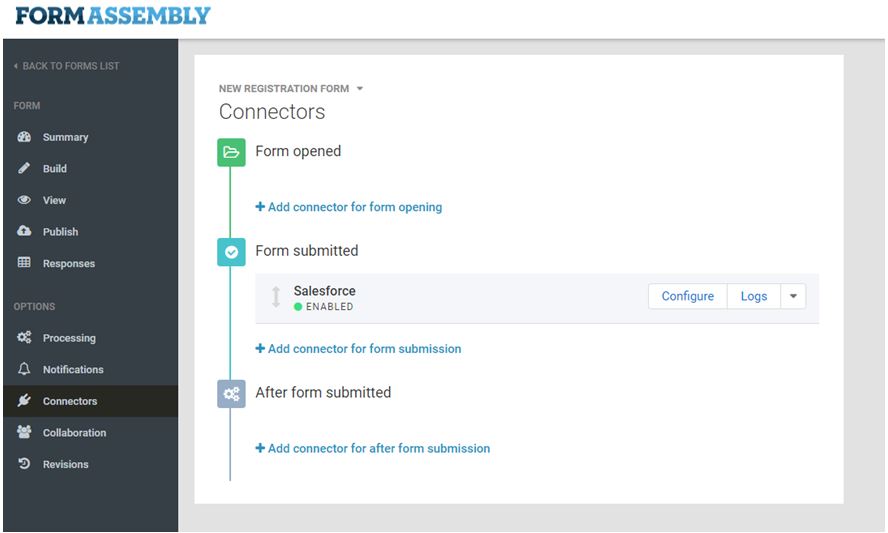
Connect the salesforce org in the form submitted section and allow the FormAssembly to give access to your salesforce org. After a successful connection makes this as Enabled (Refer fig 4). We can also change the salesforce connection by clicking the Change access button.
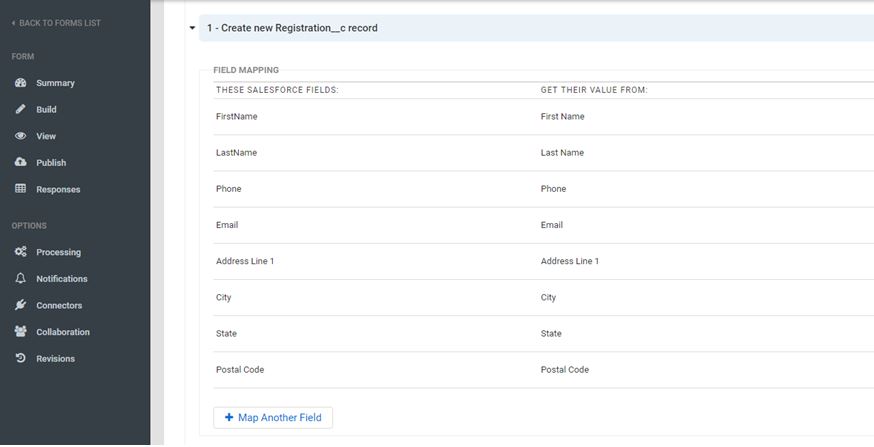
After a successful connection with salesforce, we can able to create and update any object in salesforce. Create a Registration record in salesforce by mapping the New Registration form details with the fields of Registration object in the salesforce (refer figure 4). The form will show error in the case of any validation throughs from salesforce when we submit the form.
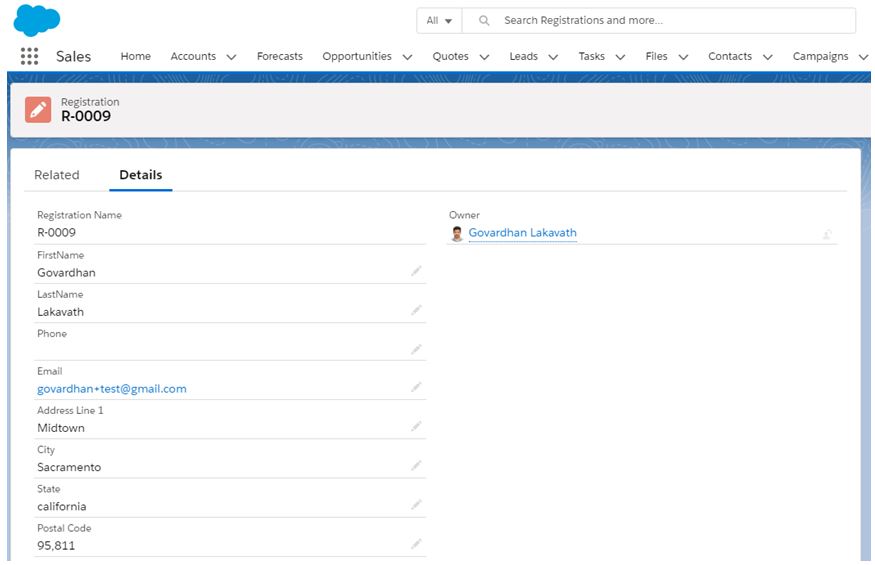
Figures 5 and 6 show the form with details and registration records created in salesforce when we submit the form. The registration record is created with the same details provided in the New Registration form.

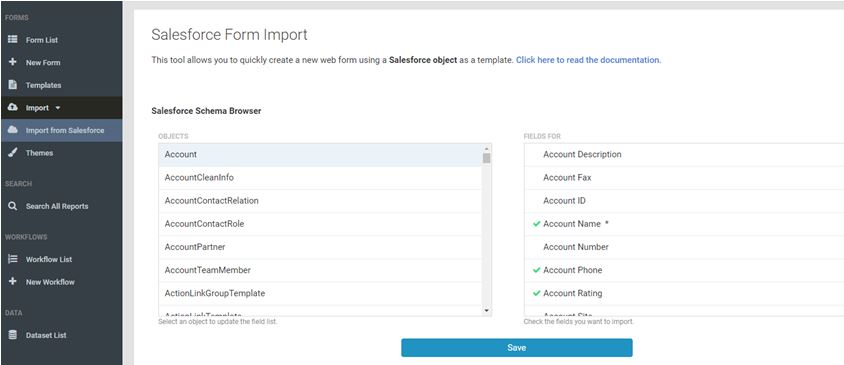
FormAssembly supports importing form from the salesforce object. After connecting to the Salesforce org select the object and fields and click on the save (refer fig 8). After the saving FormAssembly will create a form using the same details. We can modify the form and set up the connectors (refer fig 9).
Form Assembly Use Cases
Create a chatter post in salesforce and include file
We can post updates in chatter feed using FormAssembly and we can able to upload the file using FormAssembly.
Payment integration through Salesforce
FormAssembly helps us to integrate with various payment services and supports easy and secure payment transactions. FormAssembly forms will be the connecting thing to the salesforce and payment services. After successful payment transactions, we can able to create payment records in salesforce.
Create a salesforce service cloud
If you are a Salesforce Service Cloud user, you can use FormAssembly forms to create Service Cloud cases when forms are submitted.
Salesforce Campaign Members through FormAssembly
You can link a Campaign Member to a Lead or a Contact. If the Contact already has a Campaign Member to update, you can update it. If not, you can create a Campaign Member and establish a relationship to the Contact.
Getting help with Form Assembly
Please refer below resources to know more about FormAssembly
- https://www.formassembly.com/getting-started/
- https://help.formassembly.com/help
- https://help.formassembly.com/help/get-started-with-salesforce
- https://www.formassembly.com/blog/collabrax-uses-formassembly-build-campaign-member-lists-salesforce/
- https://www.formassembly.com/blog/ebook-100-formassembly-use-cases/
Helpful